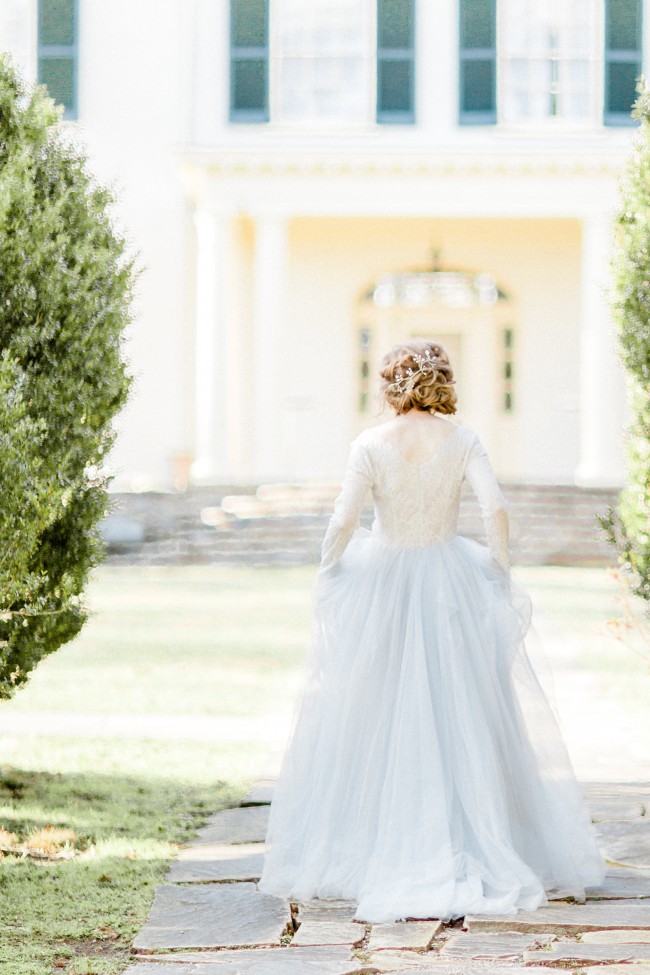
(( It’s easier than you think! ))
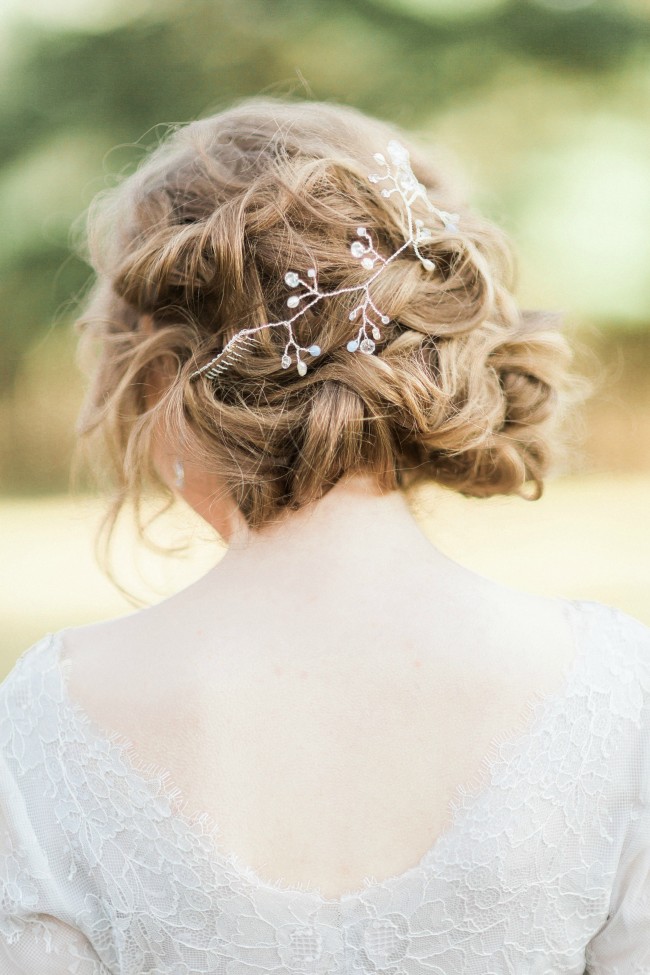
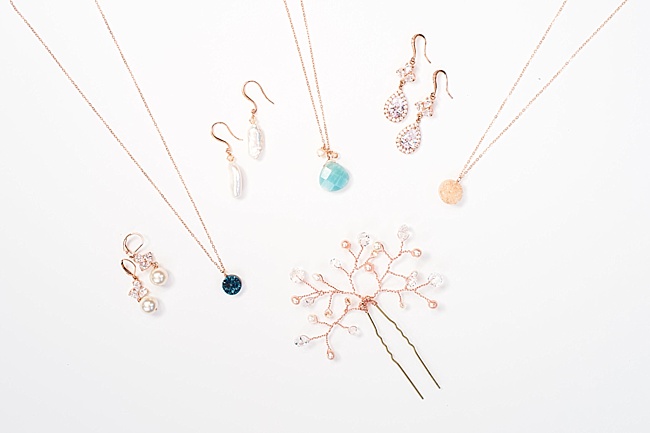 Photo by Madison Short
It’s no secret around here that I love to make custom jewelry and accessories. I view it as the ultimate win-win situation for the client (you!) and the designer (me!). The person ordering the custom jewelry gets to have a bespoke piece of handcrafted art to wear that is 100% suited to their desires. Meanwhile, I have the satisfaction of knowing that the jewelry piece(s) I made will be immediately cherished. There’s no better feeling for a creator!
If you’ve ever wondered about how to order custom jewelry and bridal hair accessories from J’Adorn Designs, this post is for you. I’m going to walk through each step of the custom jewelry design process, from inquiry to gift-wrapped delivery!
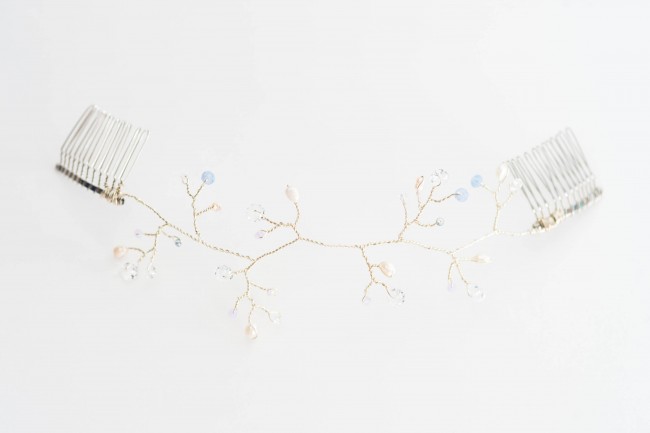
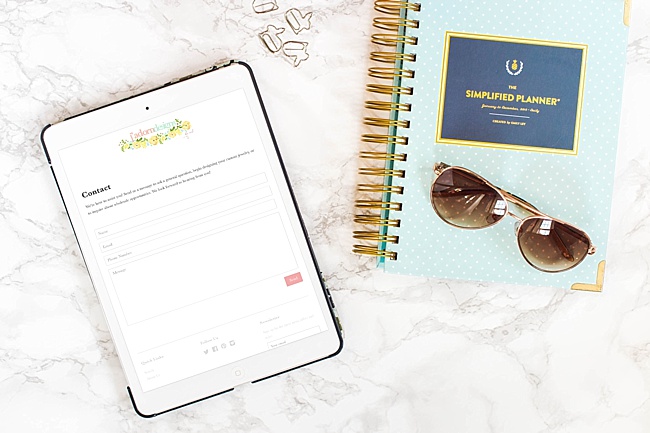 Photo by Madison Short
Step 1: The Inquiry
The first step in the custom jewelry process is as simple as a quick “hello.” Typically you would send me an email via the website contact form to express your interest. Here are a few inquiry examples:
- “I am getting married next July and want to give my bridesmaids a meaningful gift to thank them for all of their wedding planning help. Can you make custom jewelry for each of my attendants according to their style?” (Answer: YES!)
- “My wife and I are celebrating our 25th anniversary this fall and I want to give her a special piece of jewelry that she can wear every day. I’m not sure what I want to give her exactly, but she loves the color blue and turtles. Can you help?” (Answer: YES!)
- “I’ve been searching for the perfect hairpiece to wear with my wedding hairstyle. I haven’t found anything I like in the stores. Can you help me design a hair vine that will work?” (Answer: YES!)
We’ll exchange a few messages to establish a general concept and make sure we want to work together.
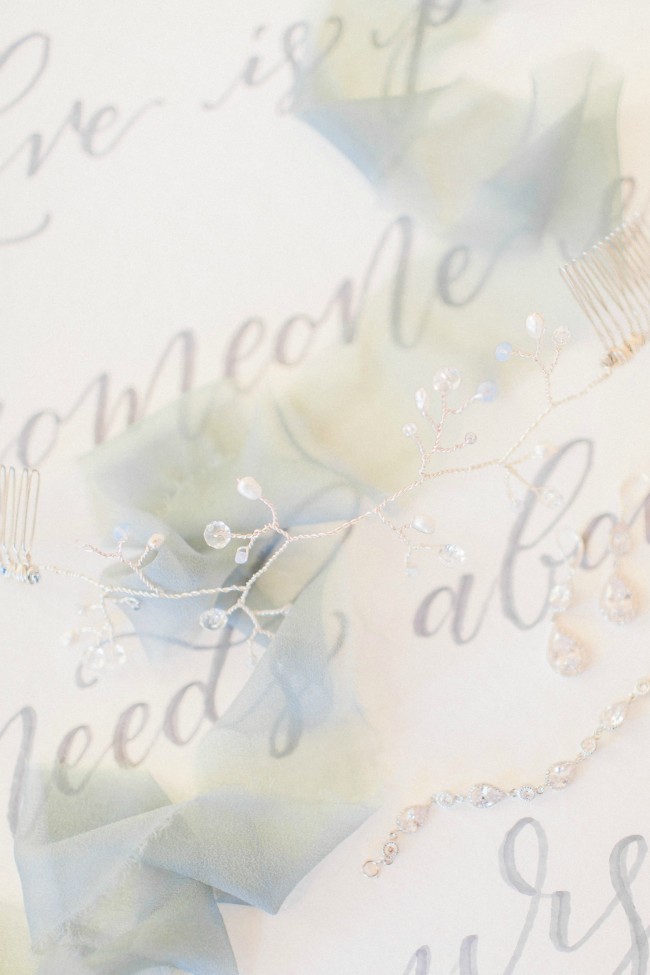
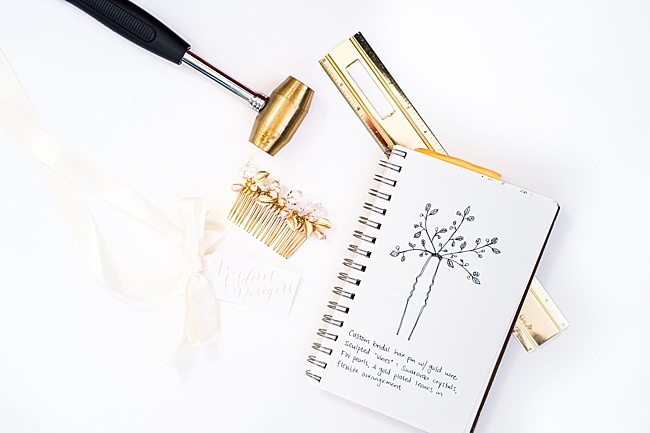 Photo by Madison Short
Step 2: The Consultation
Next we start talking about specifics! I’ll schedule a meeting with you in person or via video chat, depending on your location & availability. You should bring any photos, color swatches, and ideas along if you have a specific or loosely conceived idea of what you want. If you’re not sure, we’ll have a conversation to figure it out together. I may draw some rough sketches during our meeting and will take copious notes.
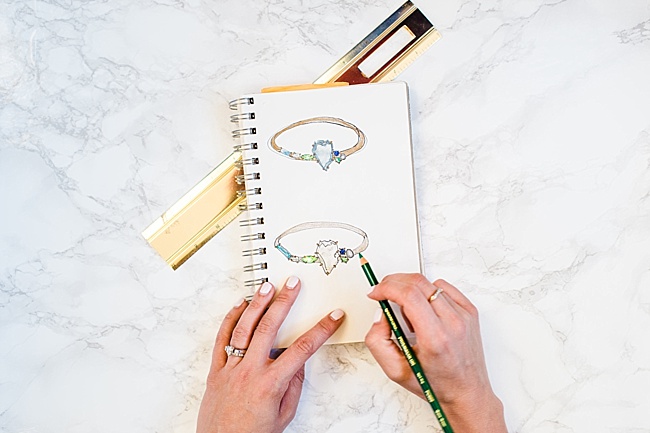 Photo by Madison Short
Step 3: Sketches & Design Proposal
At this point you’ll pay an initial retainer of $100 to reserve time in my design schedule and to pay for the design options that I’ll create for you. After the design fee retainer is paid and we’ve had our consultation, I will send you three sketches to choose from for your custom jewelry design. These sketches come with two rounds of revisions so we’ll be sure to land on your perfect choice. You’ll receive a final sketch of the piece(s) I’m going to make and a formal proposal with a contract and invoice for your project. Payment in full is due at this time.
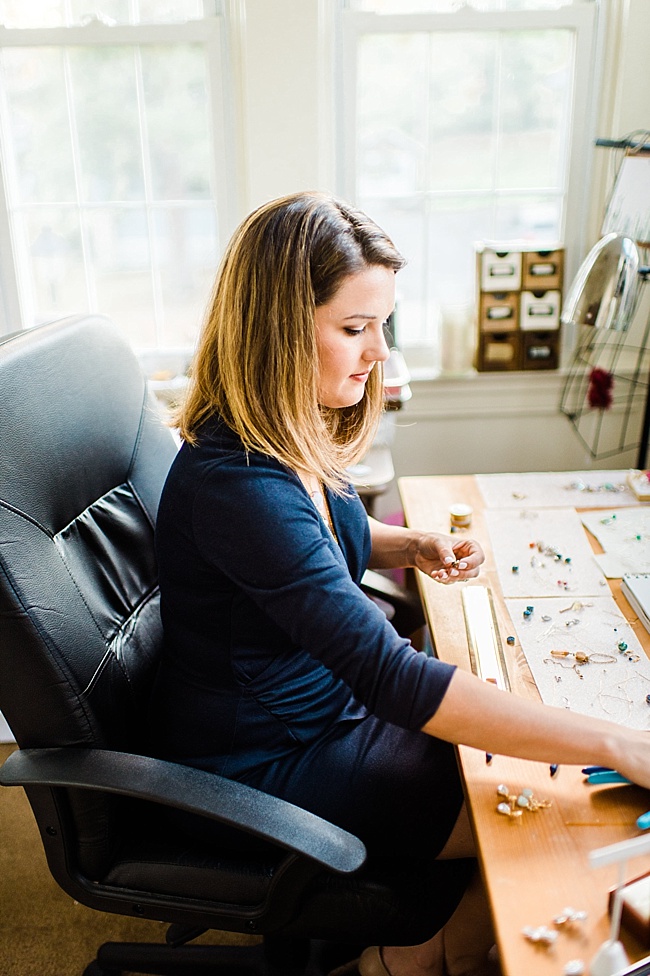 Photo by Madison Short
Step 4: Sit Back & Relax While I Work
At this point, we’ve finalized the design and you’ve paid for your custom jewelry to be made. I’ll get right to work creating the accessories you’ve commissioned. All you have to do now is wait!
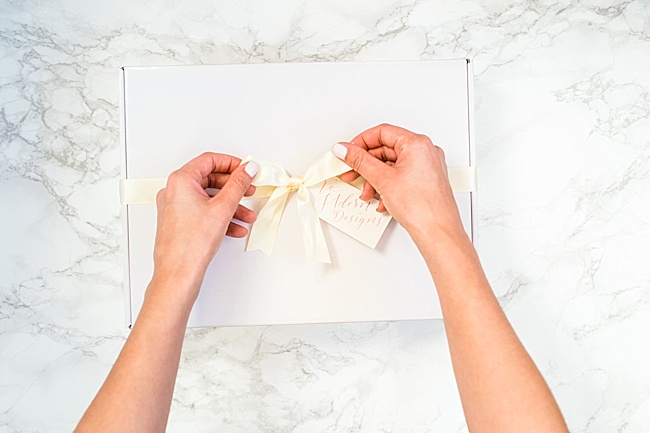 Photo by Madison Short
Step 5: Delivery
This is the most exciting part of the custom jewelry design process! Your jewelry will be delivered personally or by post, depending on your location and our agreement. The custom accessories you ordered will be freshly wrapped in a gift box or pouch, then finished with a satin ribbon in the color of your choosing.
Step 6: Rock it
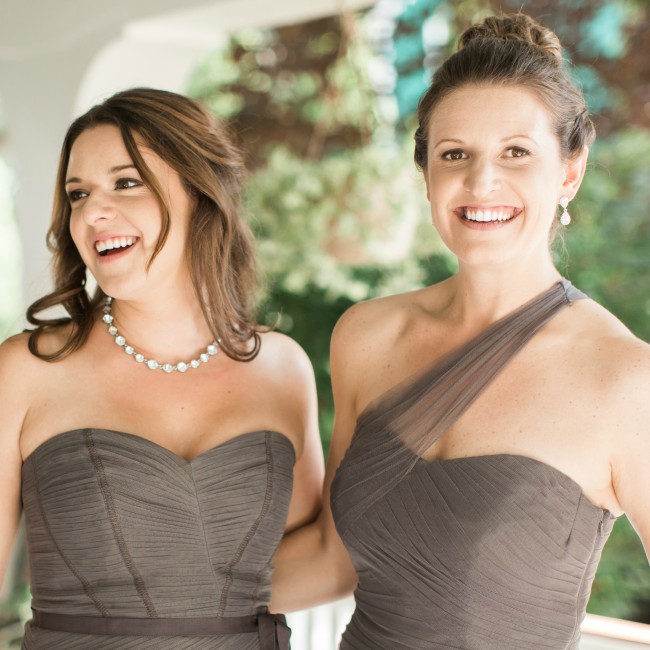
Whether you ordered custom jewelry for yourself or accessories for a loved one, all that’s left to do now is enjoy it!
 Photo by Madison Short
That’s it! Ordering custom jewelry can really be that simple! Send me a quick message to begin if there’s a special piece or set of jewelry you’d like me to make. I can’t wait to get started on your custom jewelry!
